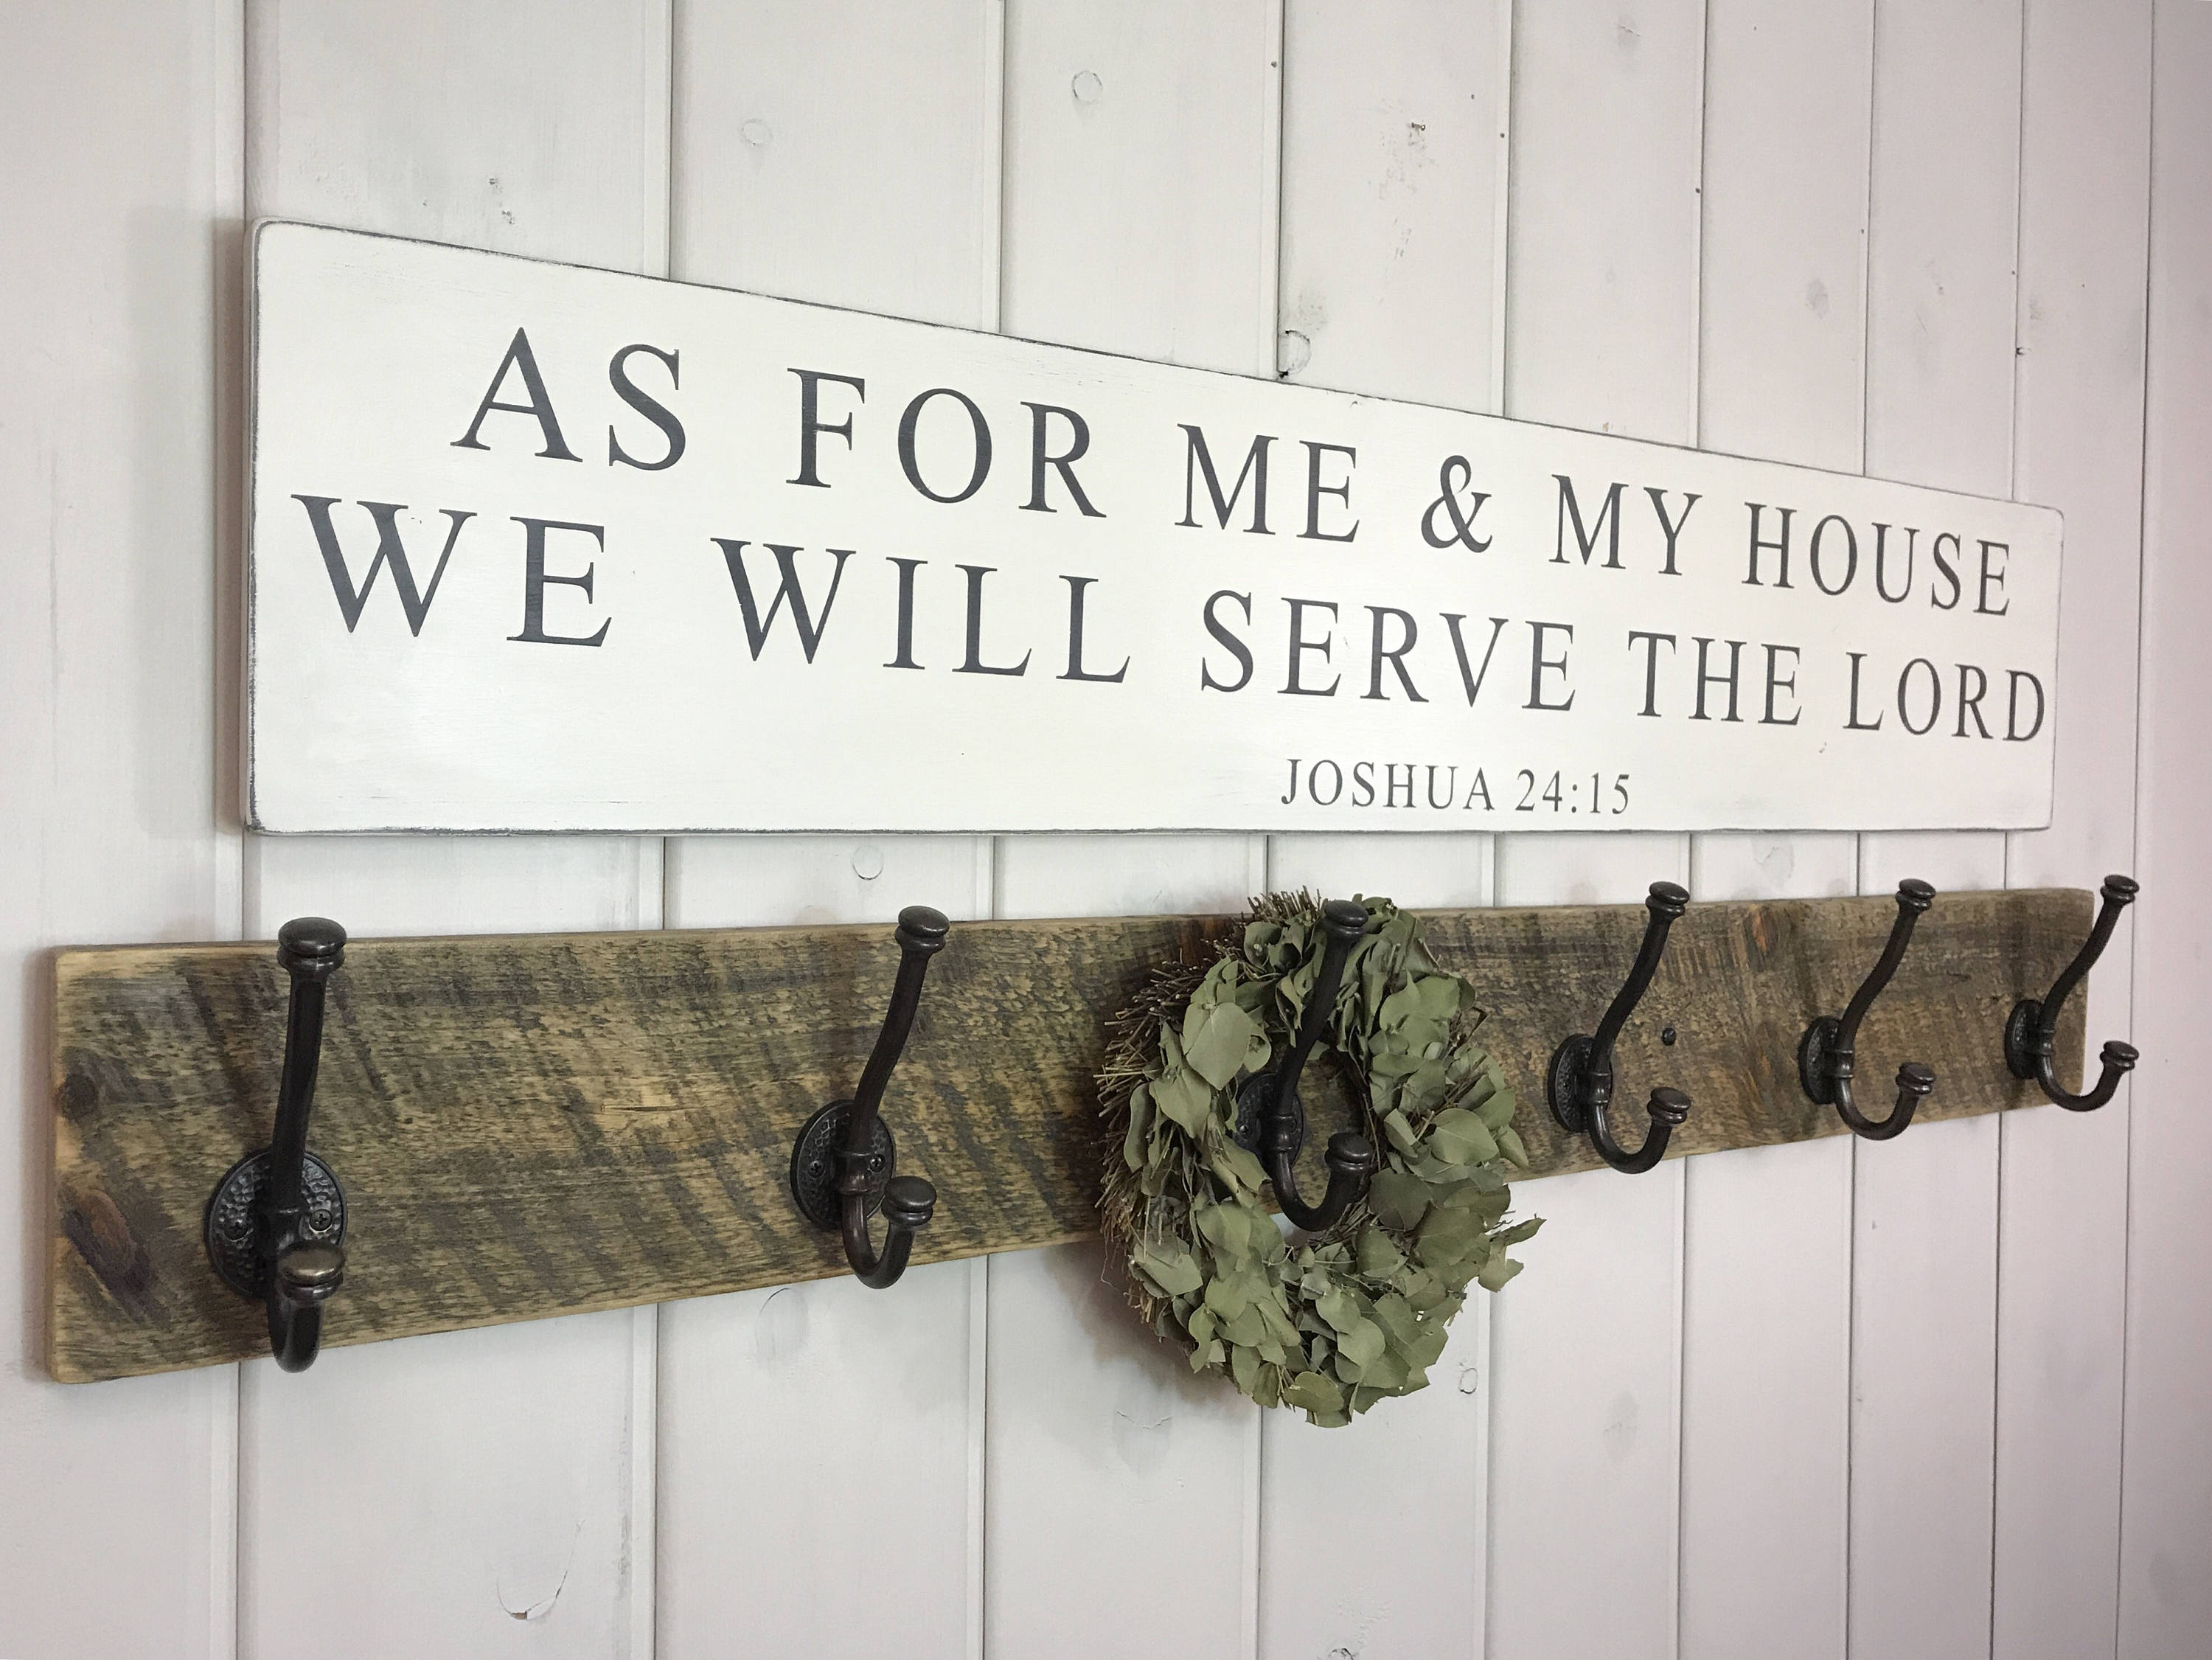
How To Make A Coat Rack DIY Farmhouse Décor

Always In Need Of A Place To Hang Your Hat and A Place
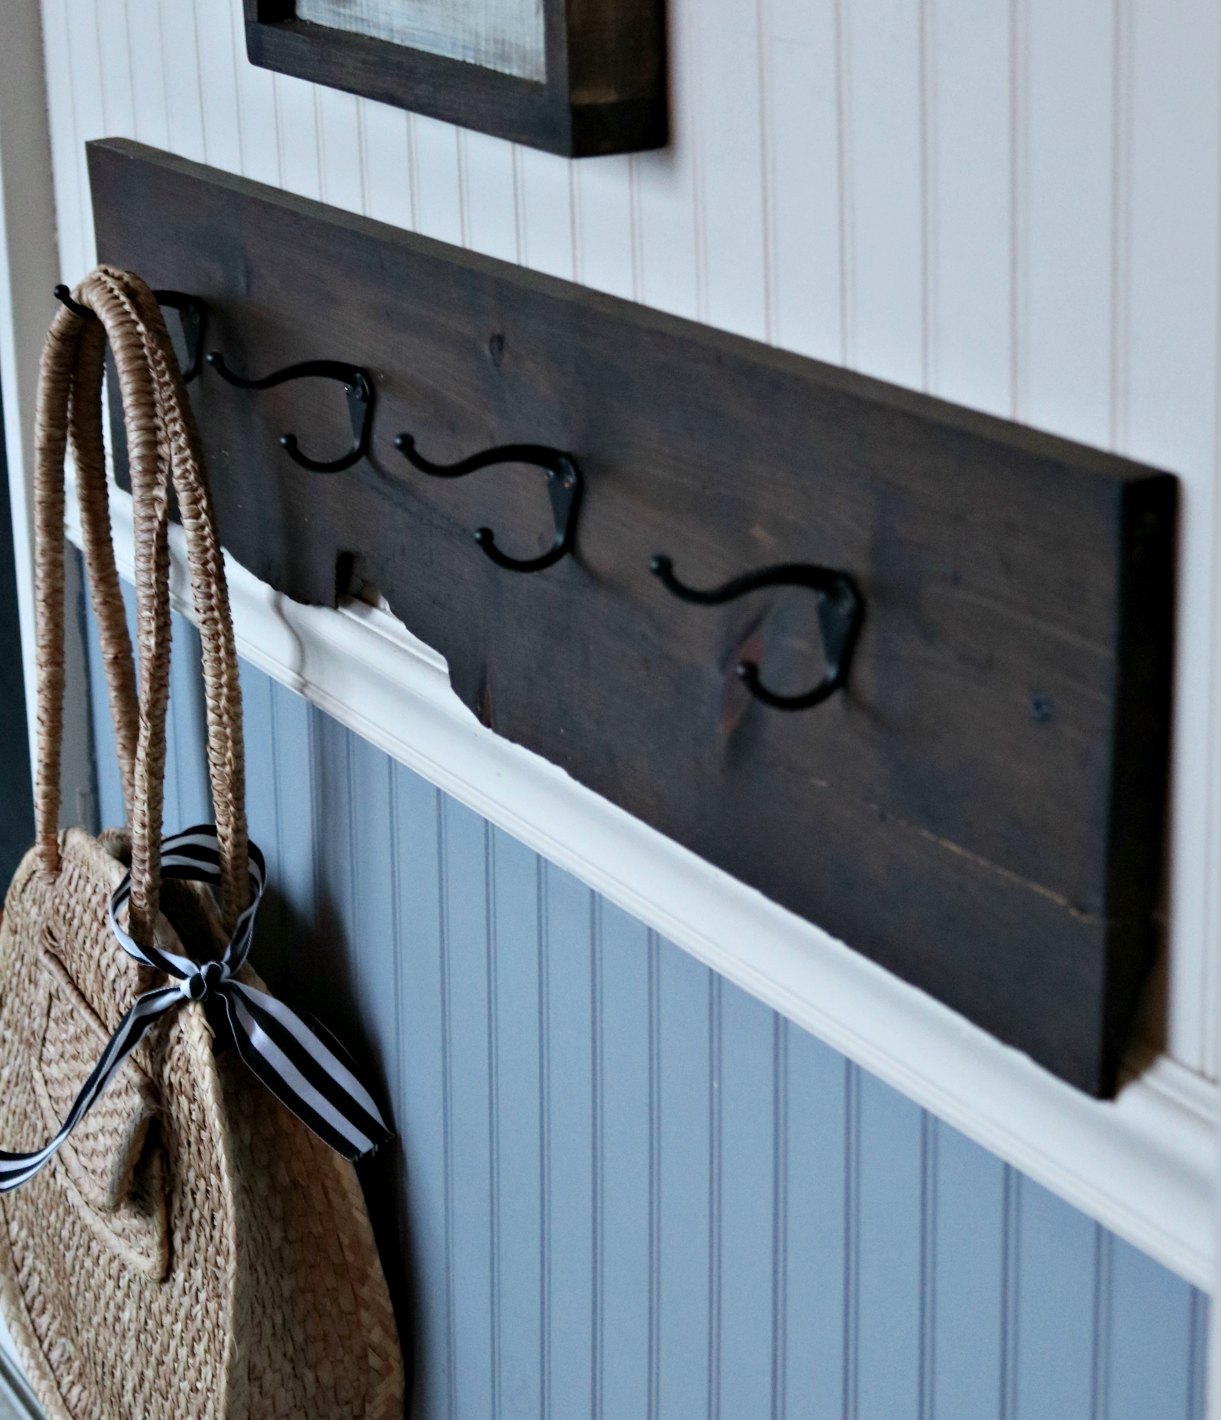
Create this simple farmhouse look with this easy DIY farmhouse coat rack that you can stain and hang in your home in less than a day. Nothing is better than having a place to hang your hat, coat, or those canvas totes. This simple, easy to-do farmhouse coat rack will give you just that in some very easy steps. The one I made above will be used for pool towels and my book bag that I can bring out to the pool. Juggling 45 things out to the pool with me would be much easier with a bag. Plus, noting drives me crazier than to have wet pool towels all over the outdoor furniture, tossed on the grass, and so on. I wonder what you’ll use your Farmhouse Rack for? Please share!
Before we begin…I just have a few stain colors that I’d like to share with you because, well, I’d marry these! Wait, does that sound weird?
(I’m not affiliated with Minwax in any way. I just love and use their products.)
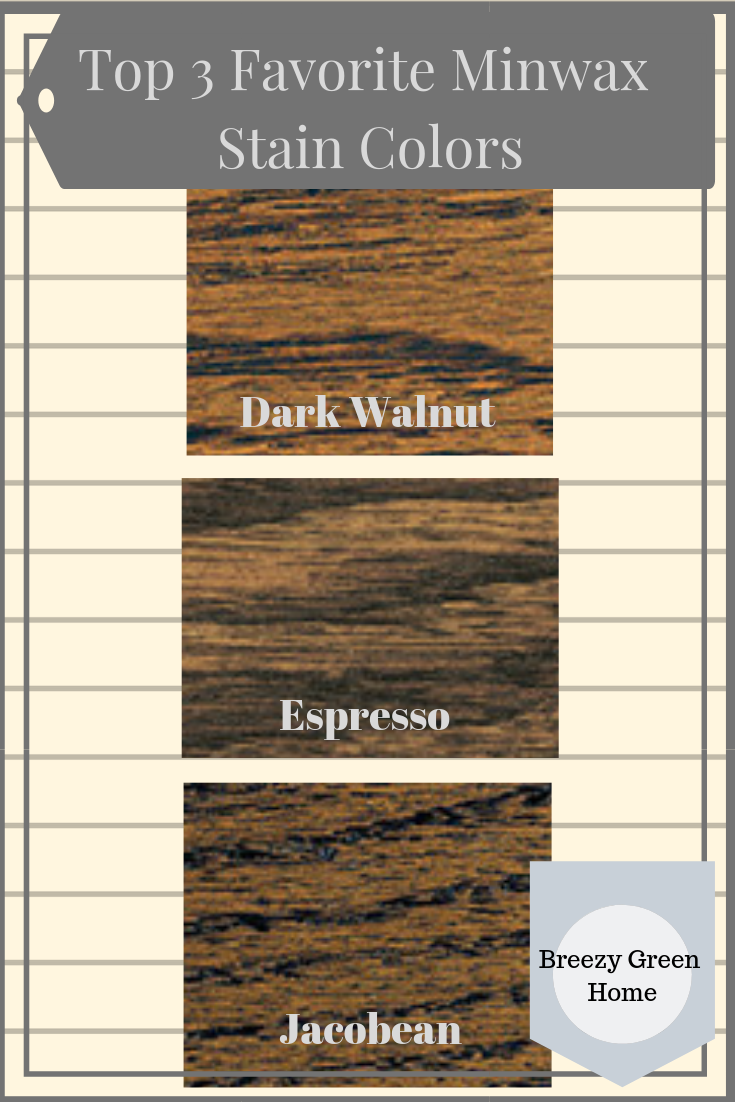
Lately, I have been loving the deep dark colors of Minwax stain. To be honest, for many years I was on the chalk paint kick and moved away from stain. Now, I’m back on board with the stain and I’m loving it even more! I’m not sure if it’s because I’m older, or the fact that I just love the richness in color that it adds to a room. When combined with specific greys and whites. Everything just pops!
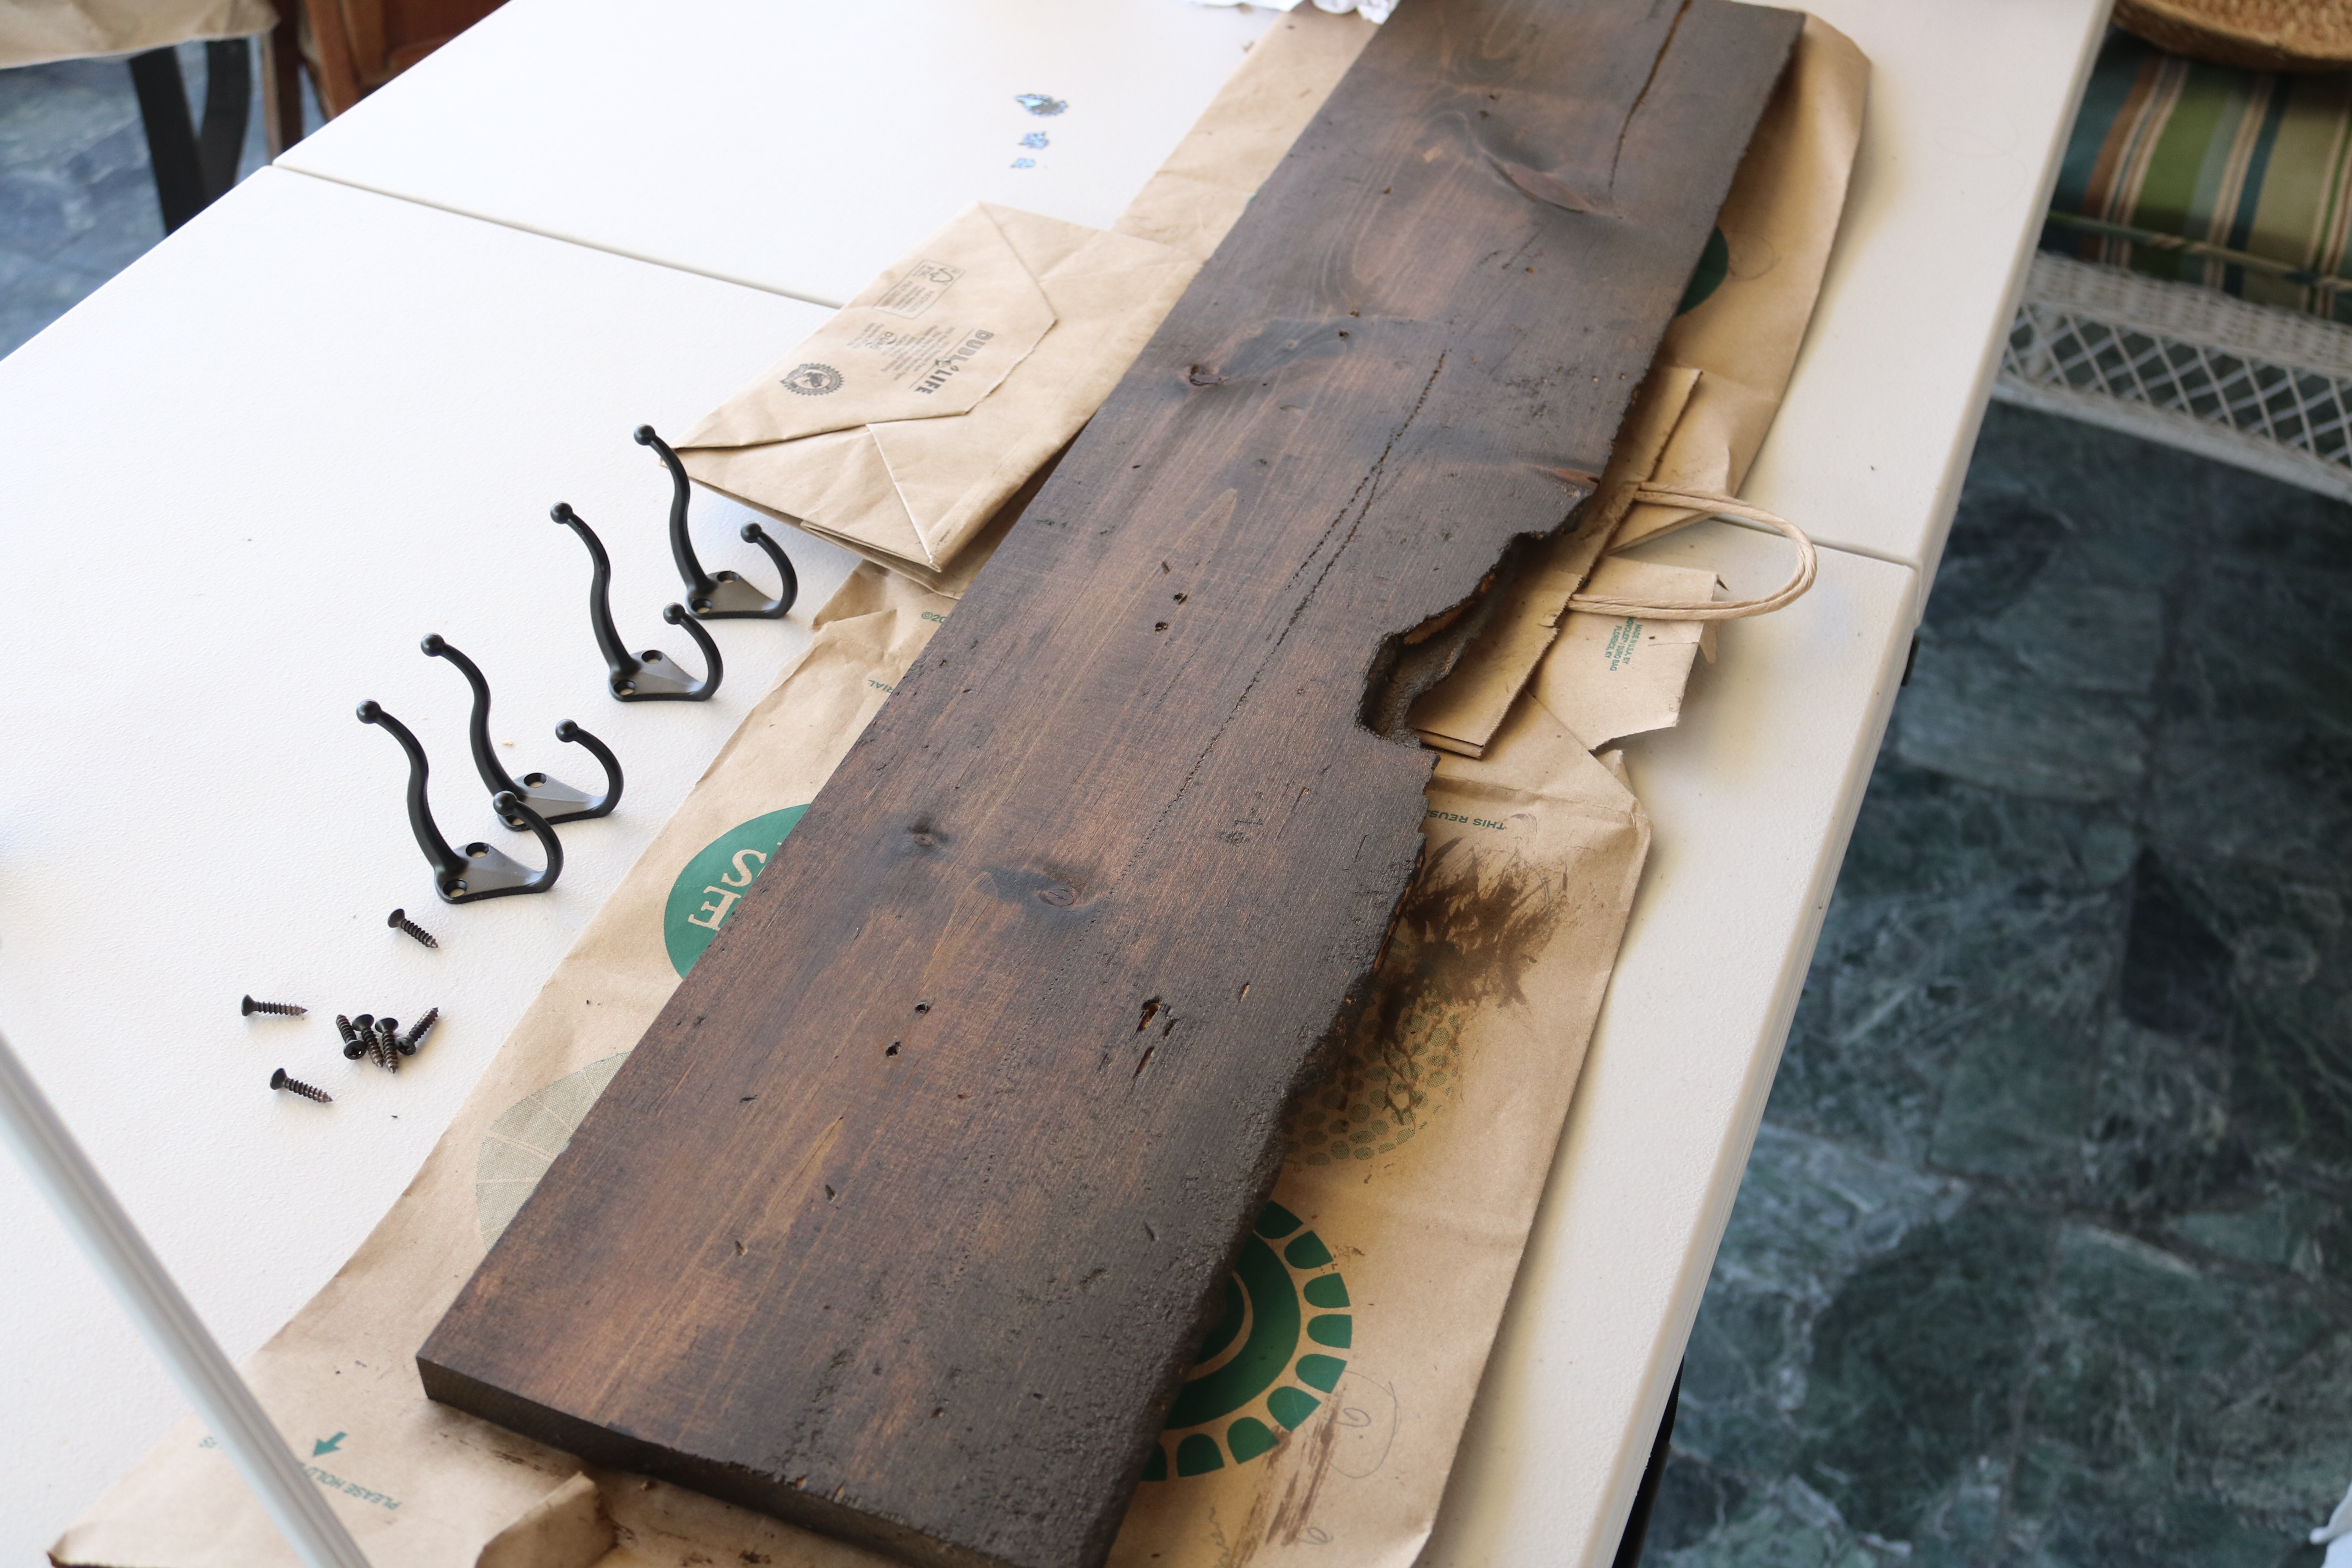
Gather Your Supplies
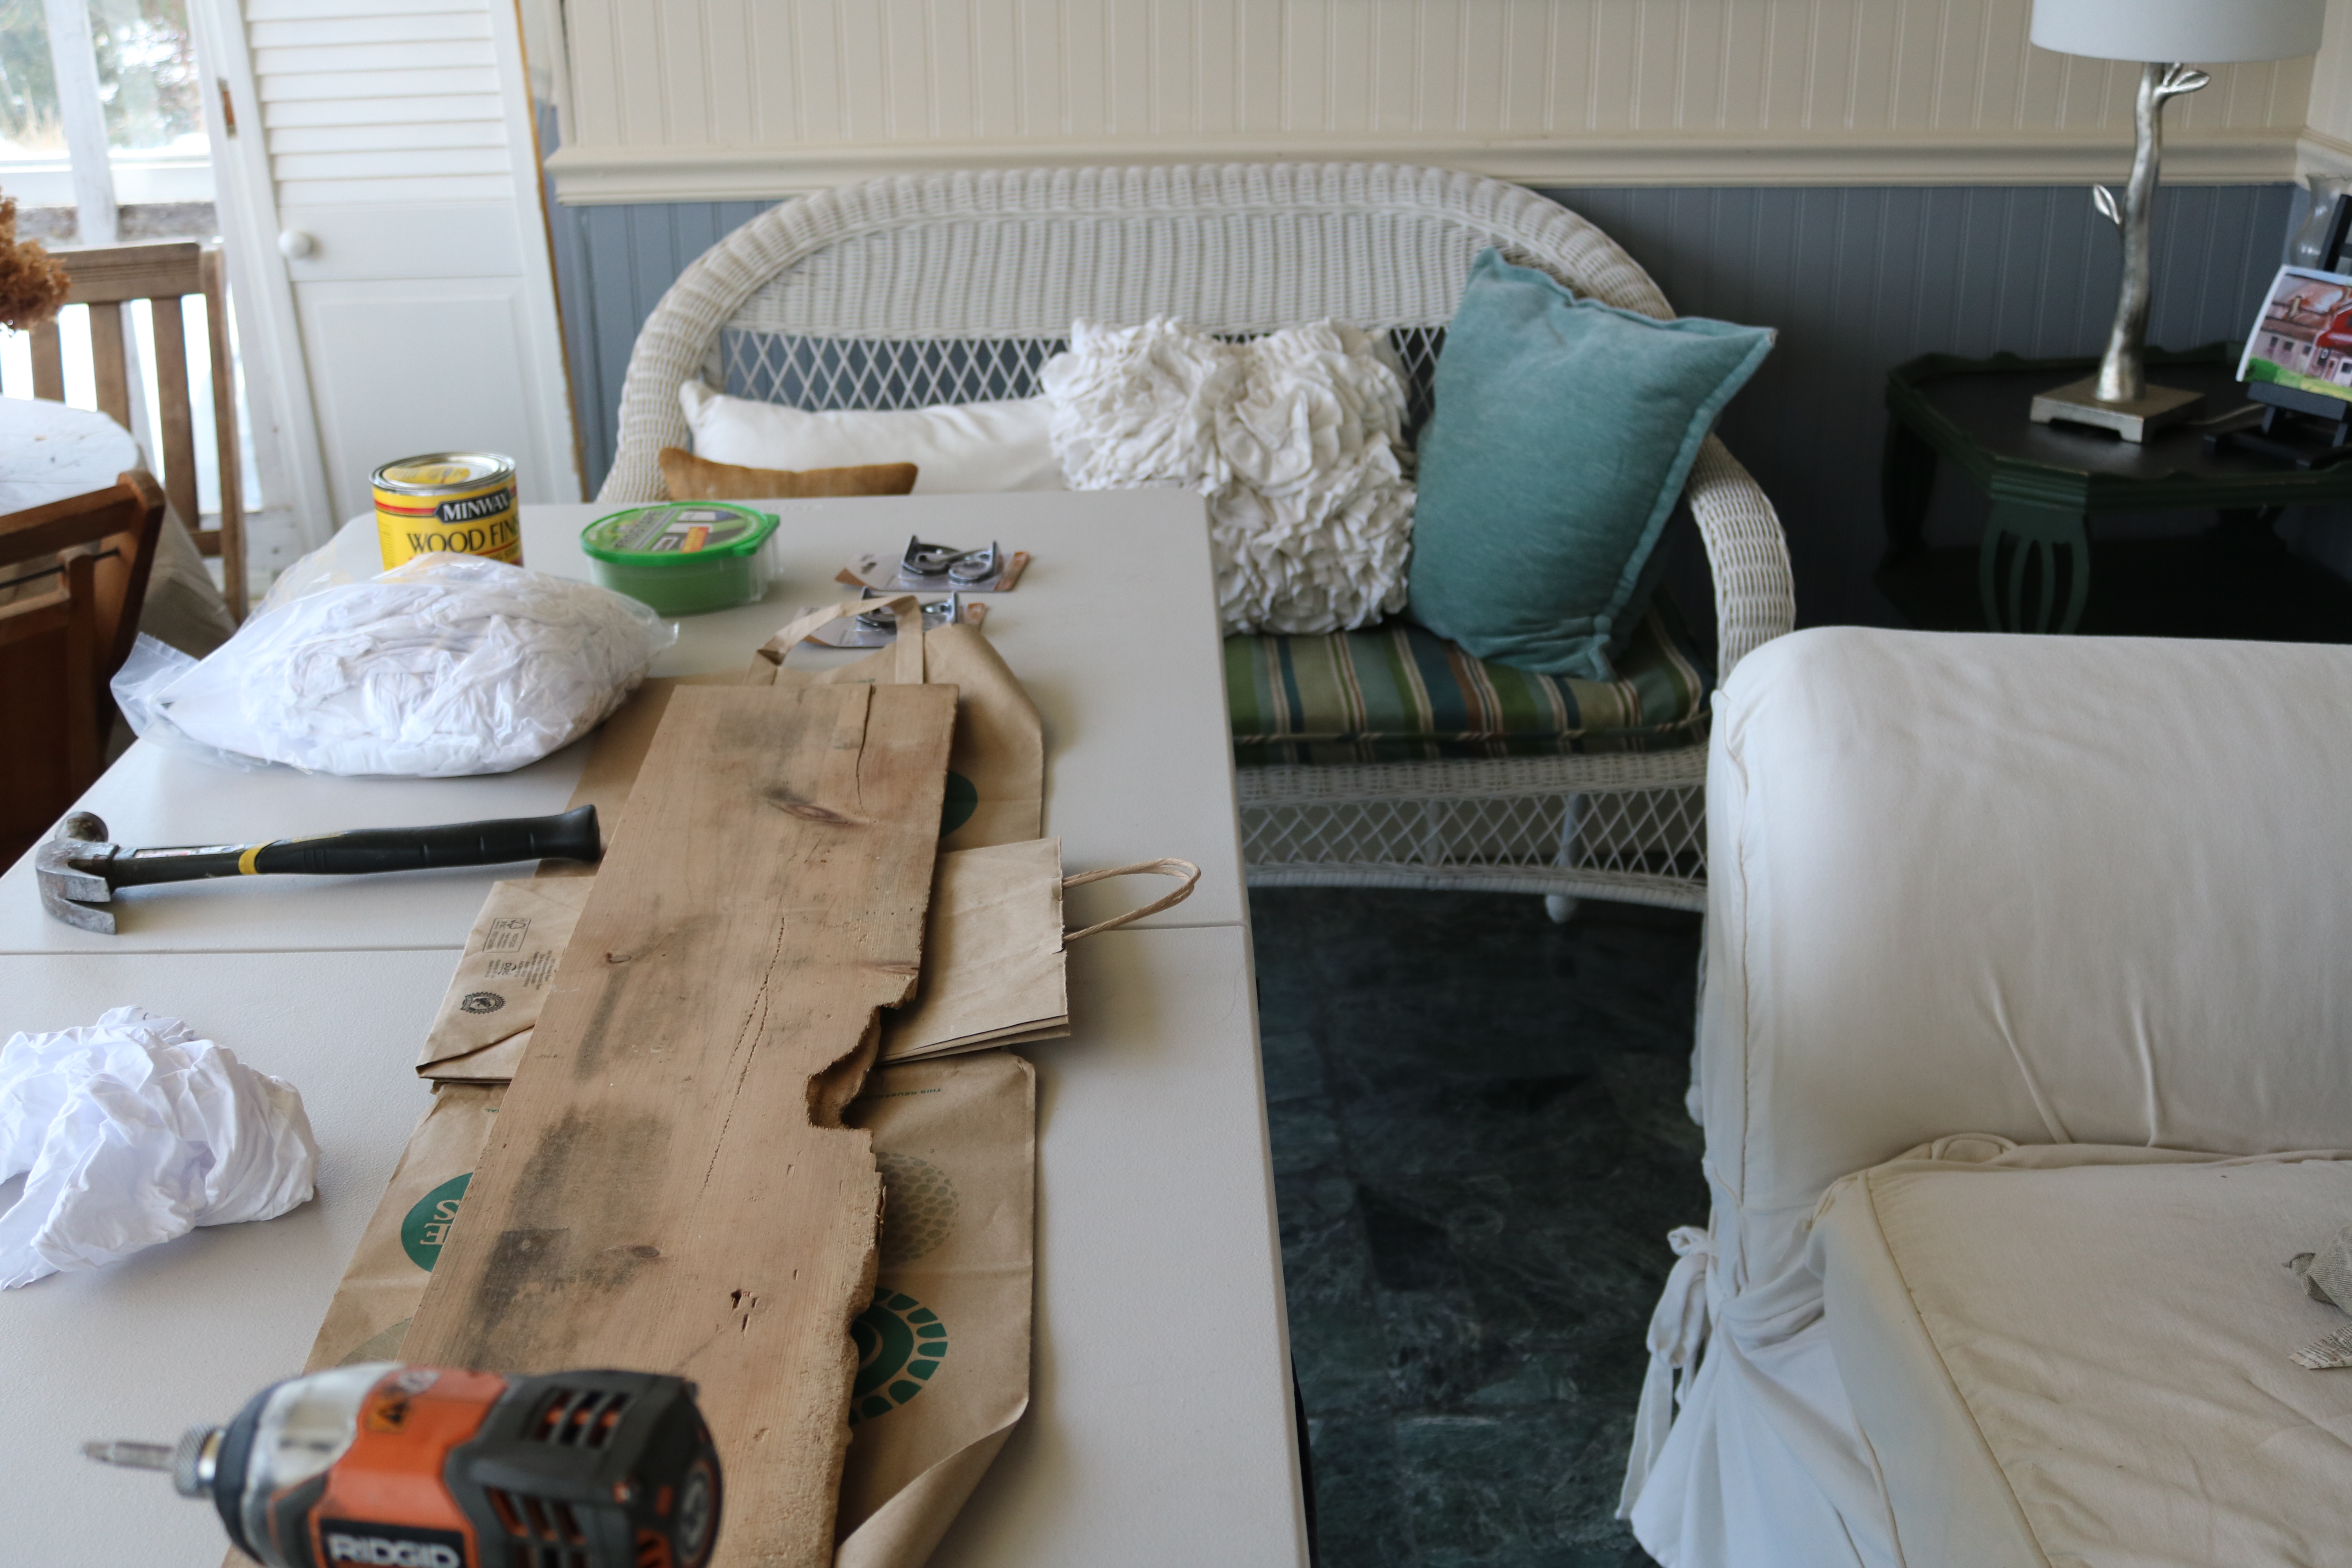
- Piece of wood-recycled or pine
- Stain- I’m using Dark Walnut by Minwax (not an affiliate, just love it)
- Rags for staining
- Sand paper, if you want to dull out the edges, or any rough spots
- Hammer/nail- for distressing
- Hooks – You can use vintage doorknobs or hooks too
- Protective gloves
- Air mask, or well ventilated area
- Drill
- Measuring tape for marking where you will put the hooks
Follow The Easy Steps Below
Begin by measuring and predrilling the holes where the hooks will be placed. Then, begin staining your board. Make sure you get all the nooks and crannies and the sides too!
Next, if your board is new and needs some distressing just bang your board in random spots with the head of the hammer, or the teeth of the hammer. The point is to make the divots look natural, so don’t do them in perfect lines, or make them look unnatural. Avoid those rows and columns of divots. You can also use the side of a nail for divots and dings. The board I’m using is about 9,000 years old, so it has lots of dings.
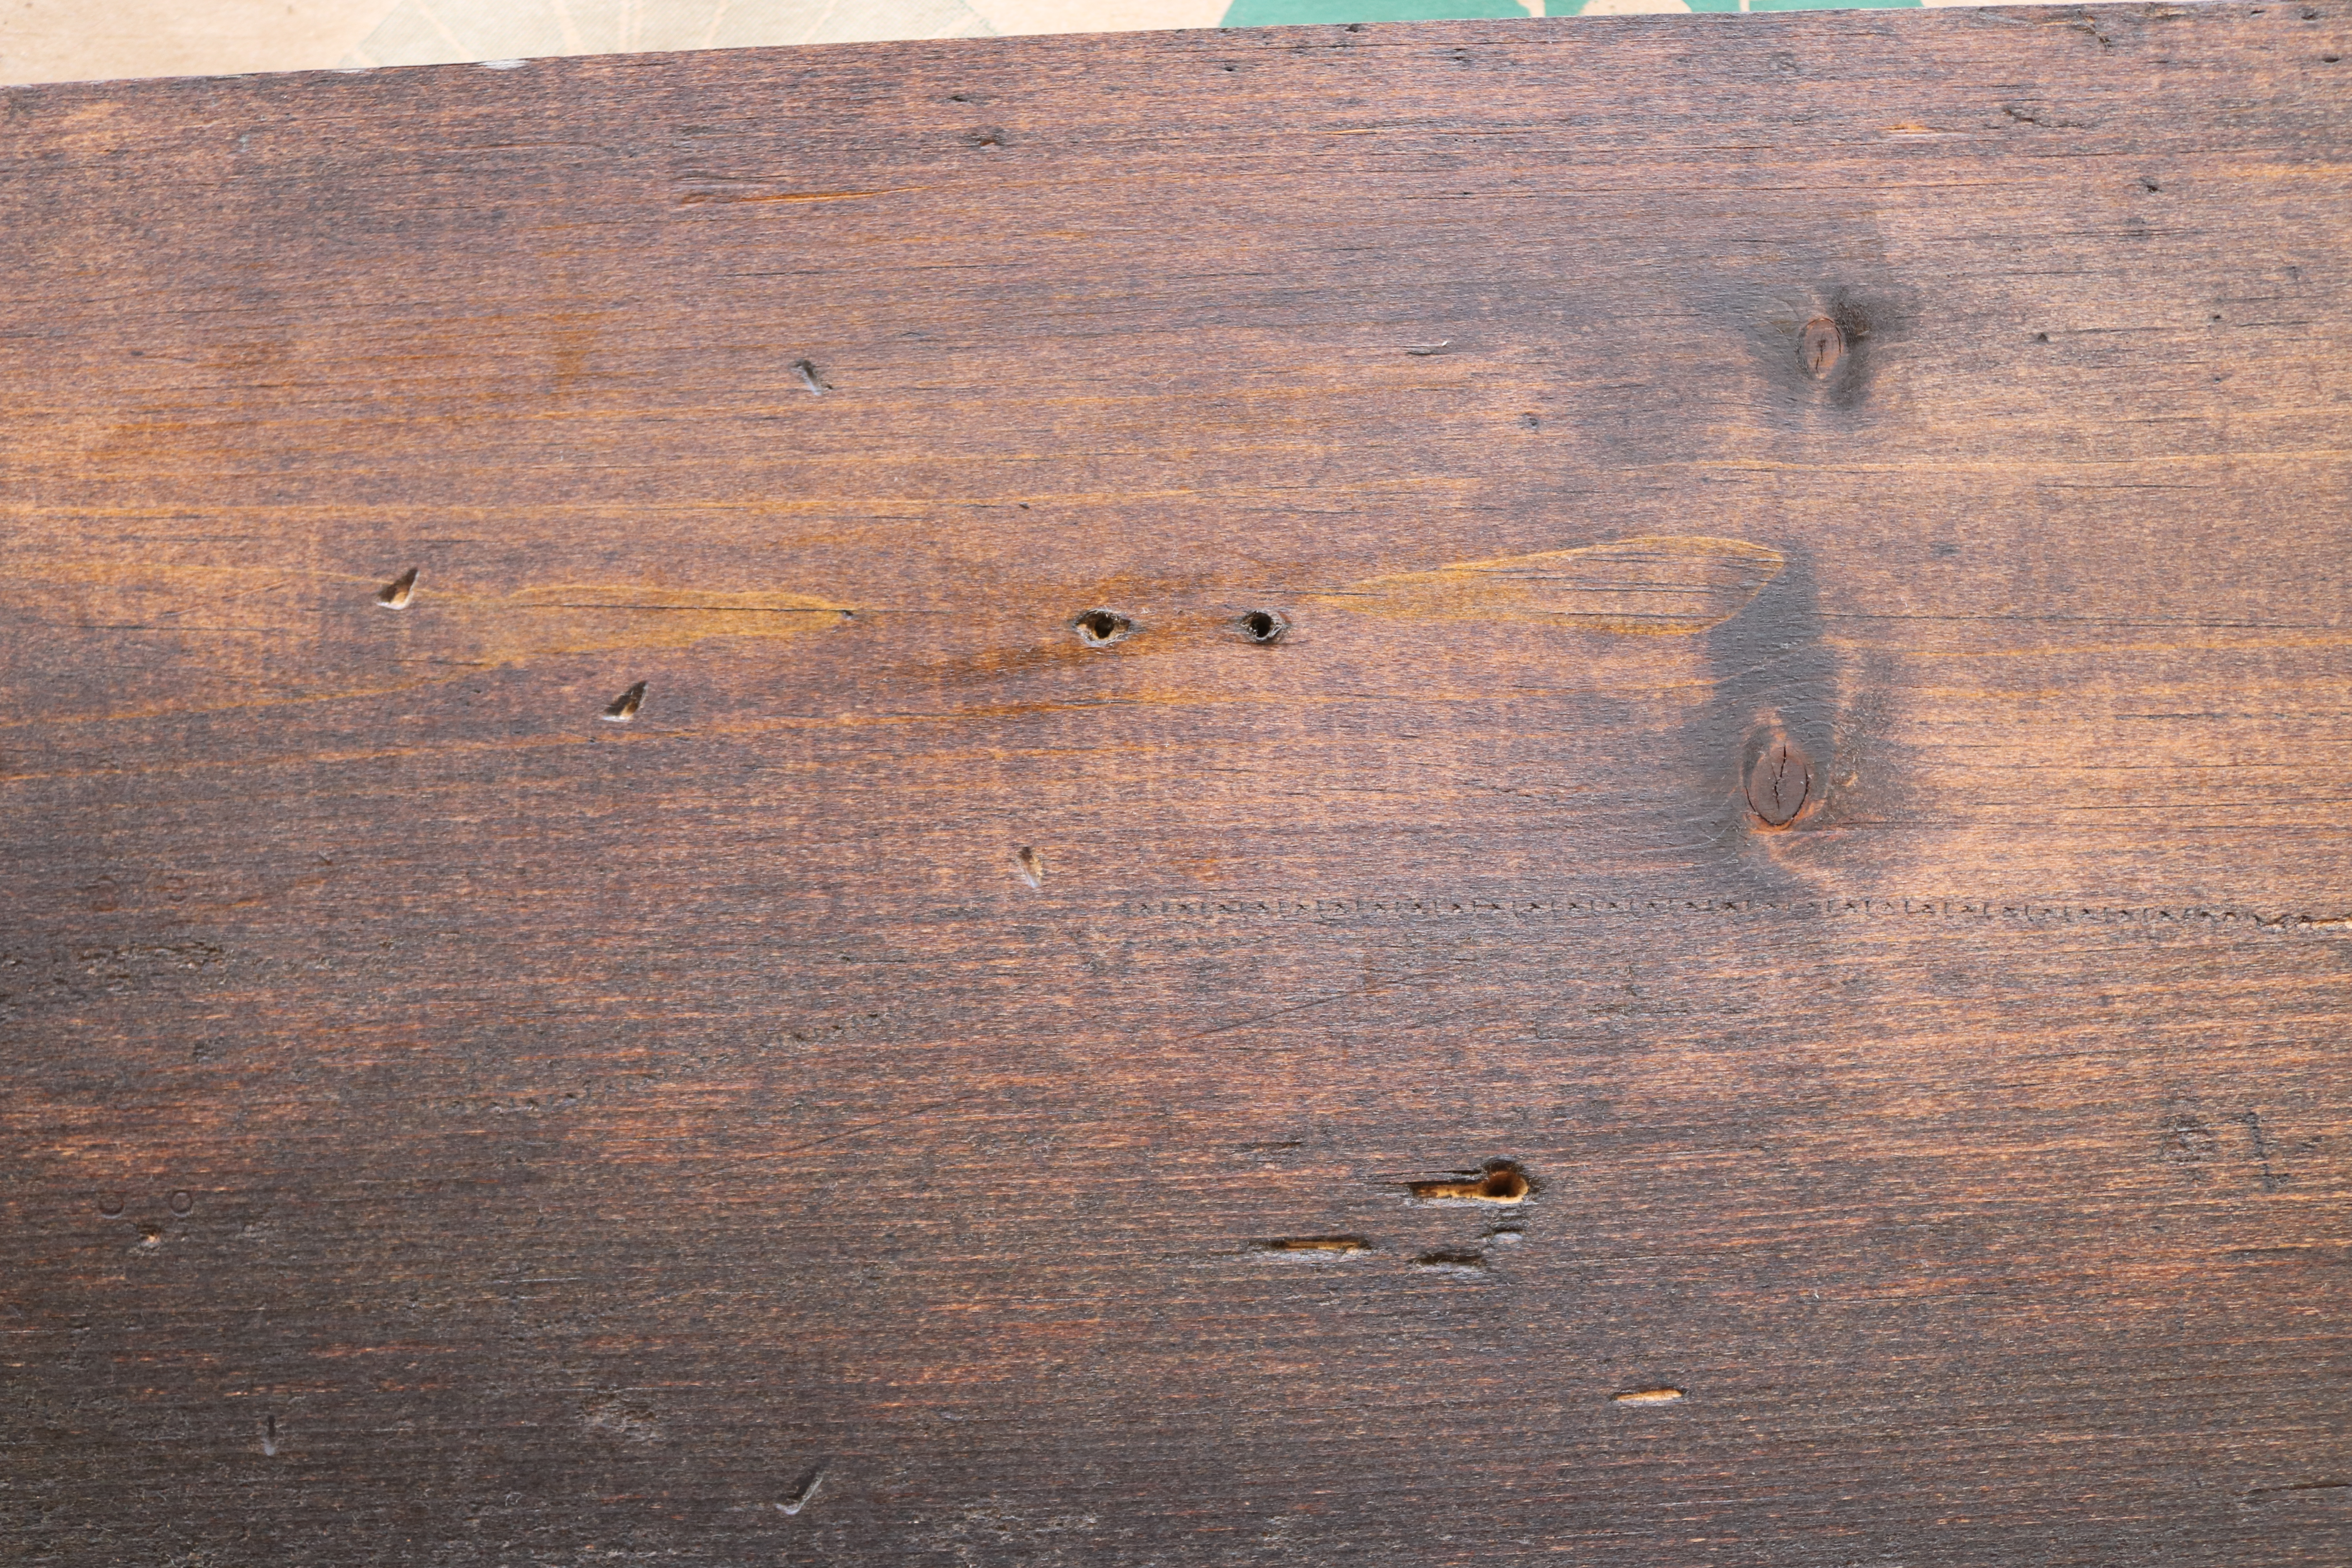
Now, it’s time to sand, but don’t sand or scratch the board too much because your board will not be very forgiving and will show all of the scratches. After you’re done distressing the board, it’s time to stain. Dip your rag into the stain and apply it evenly. Make sure that you are wearing your gloves at this point. Stained fingers are no fun!
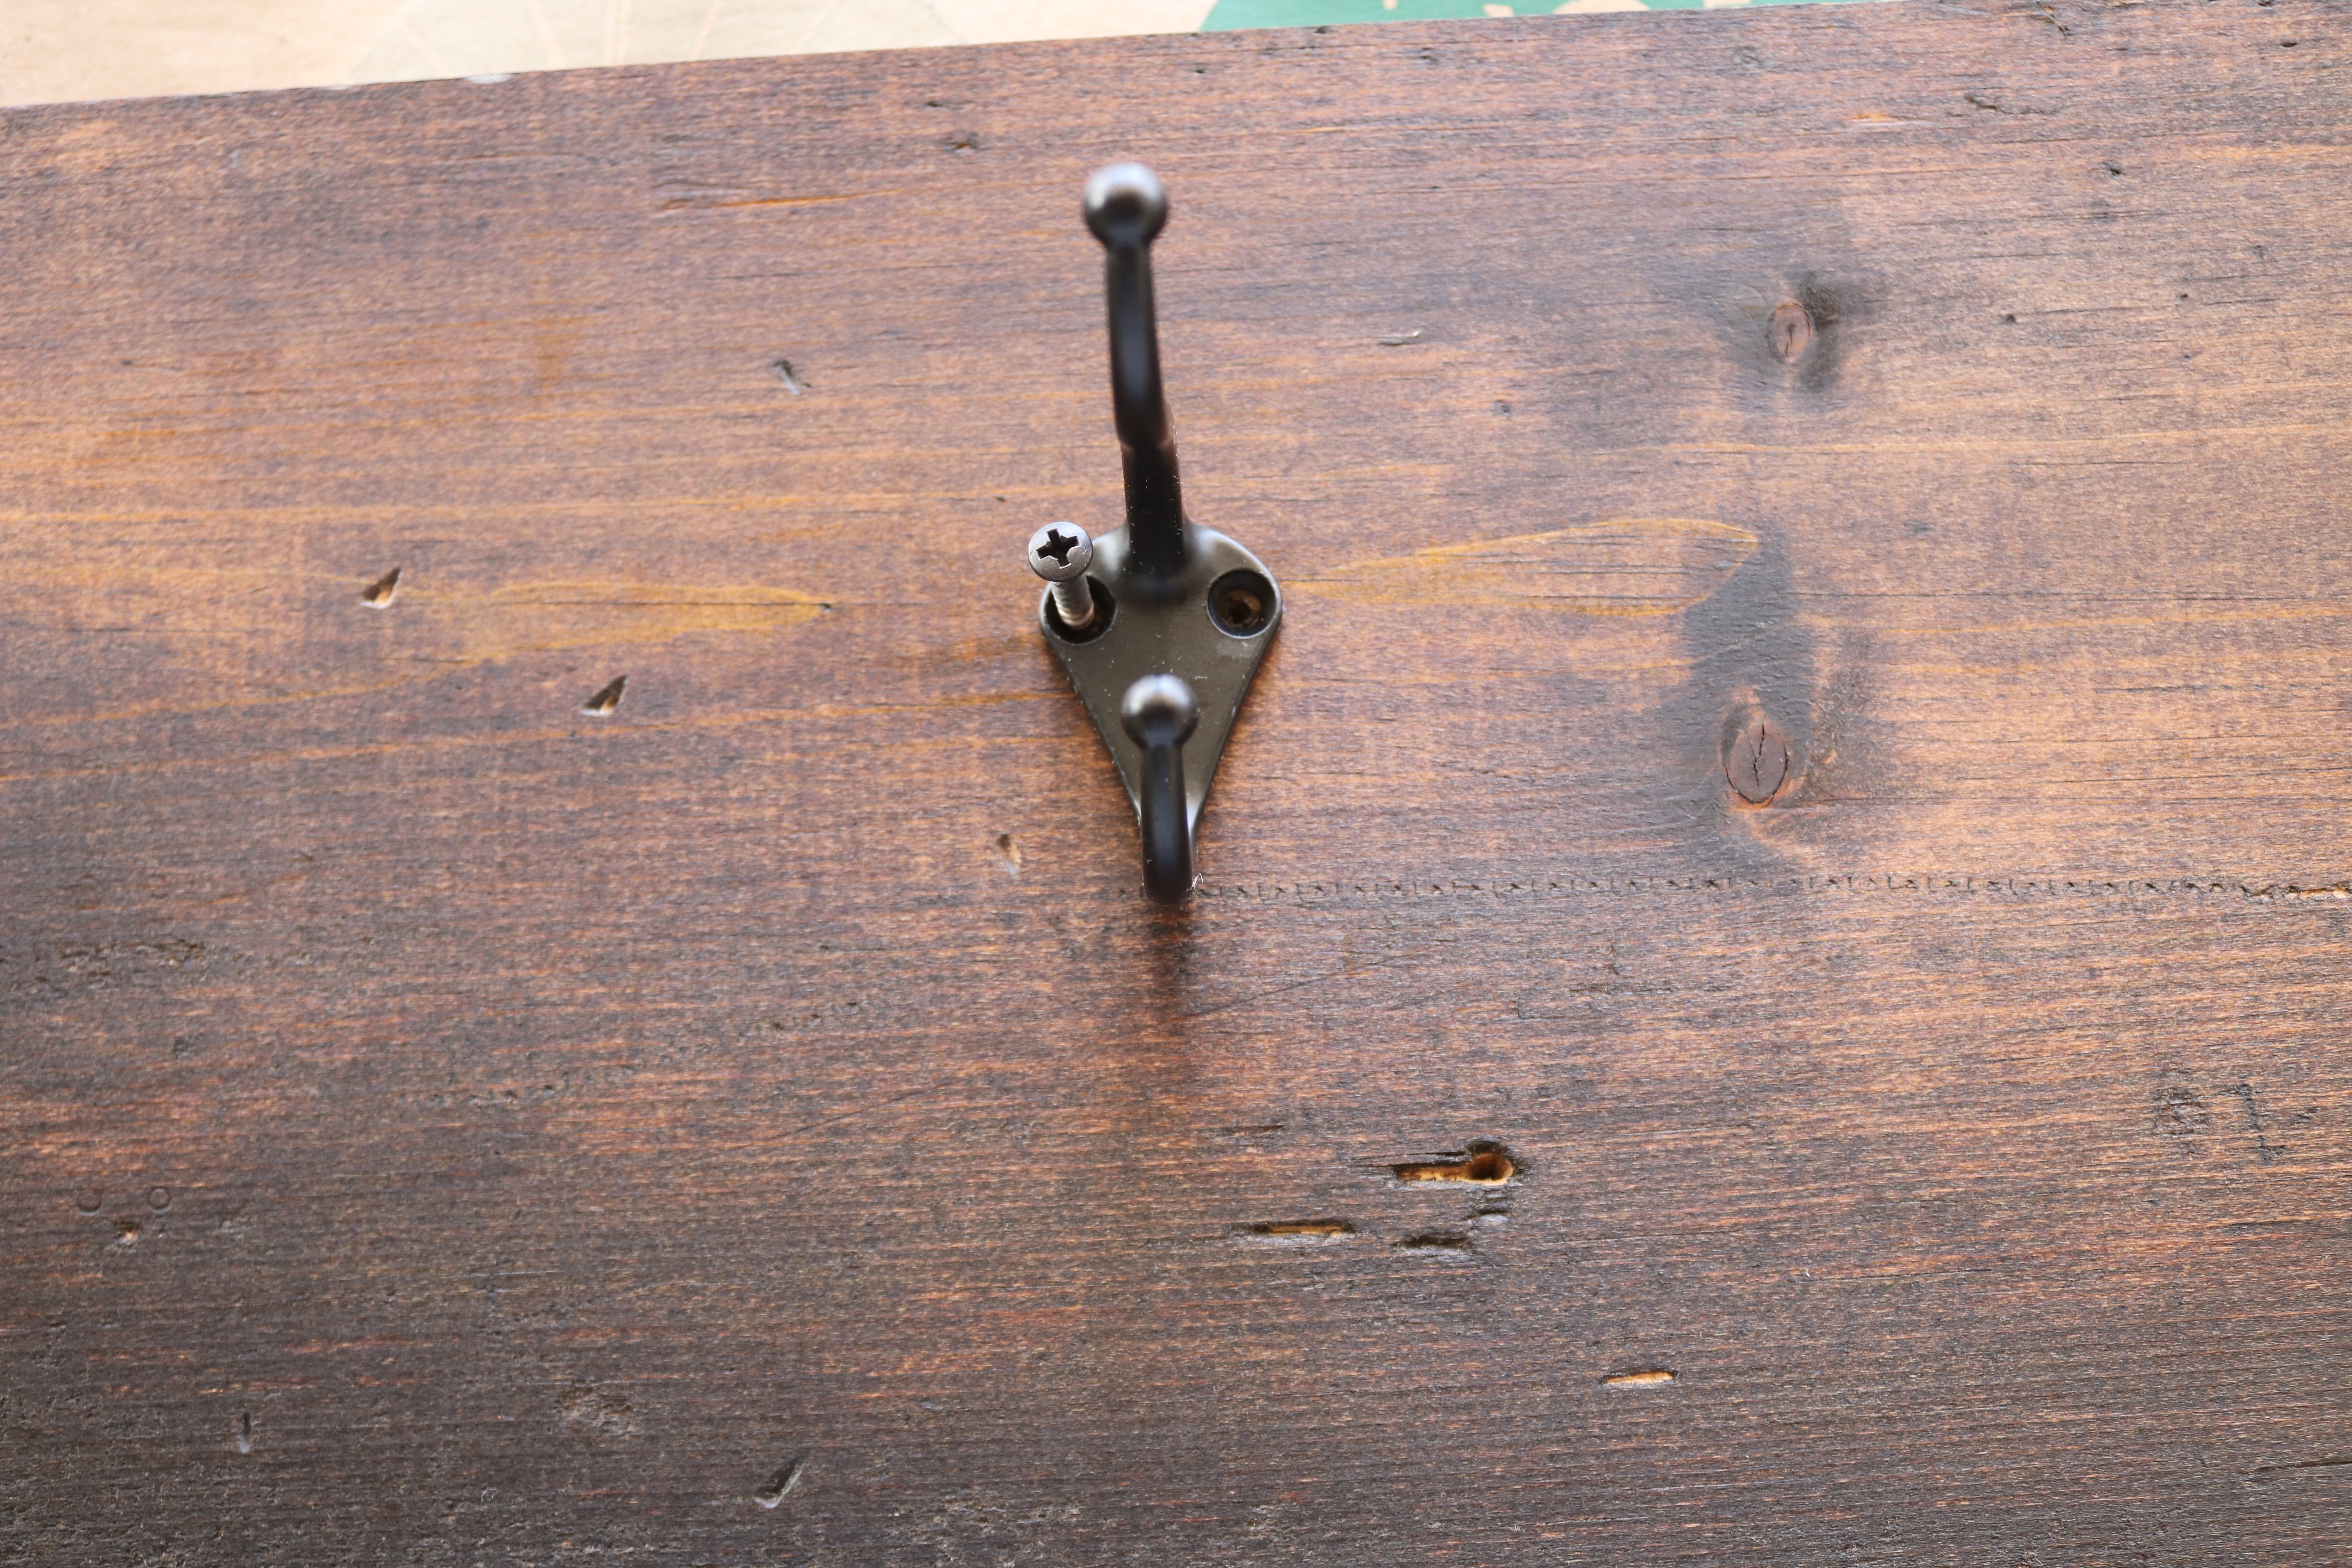
Let your board dry thoroughly. One coat of stain on this board was enough. The natural dings and wear on the board look so pretty when stained. Now it’s time for the hooks! Add your hooks with your drill and this farmhouse rack is complete!
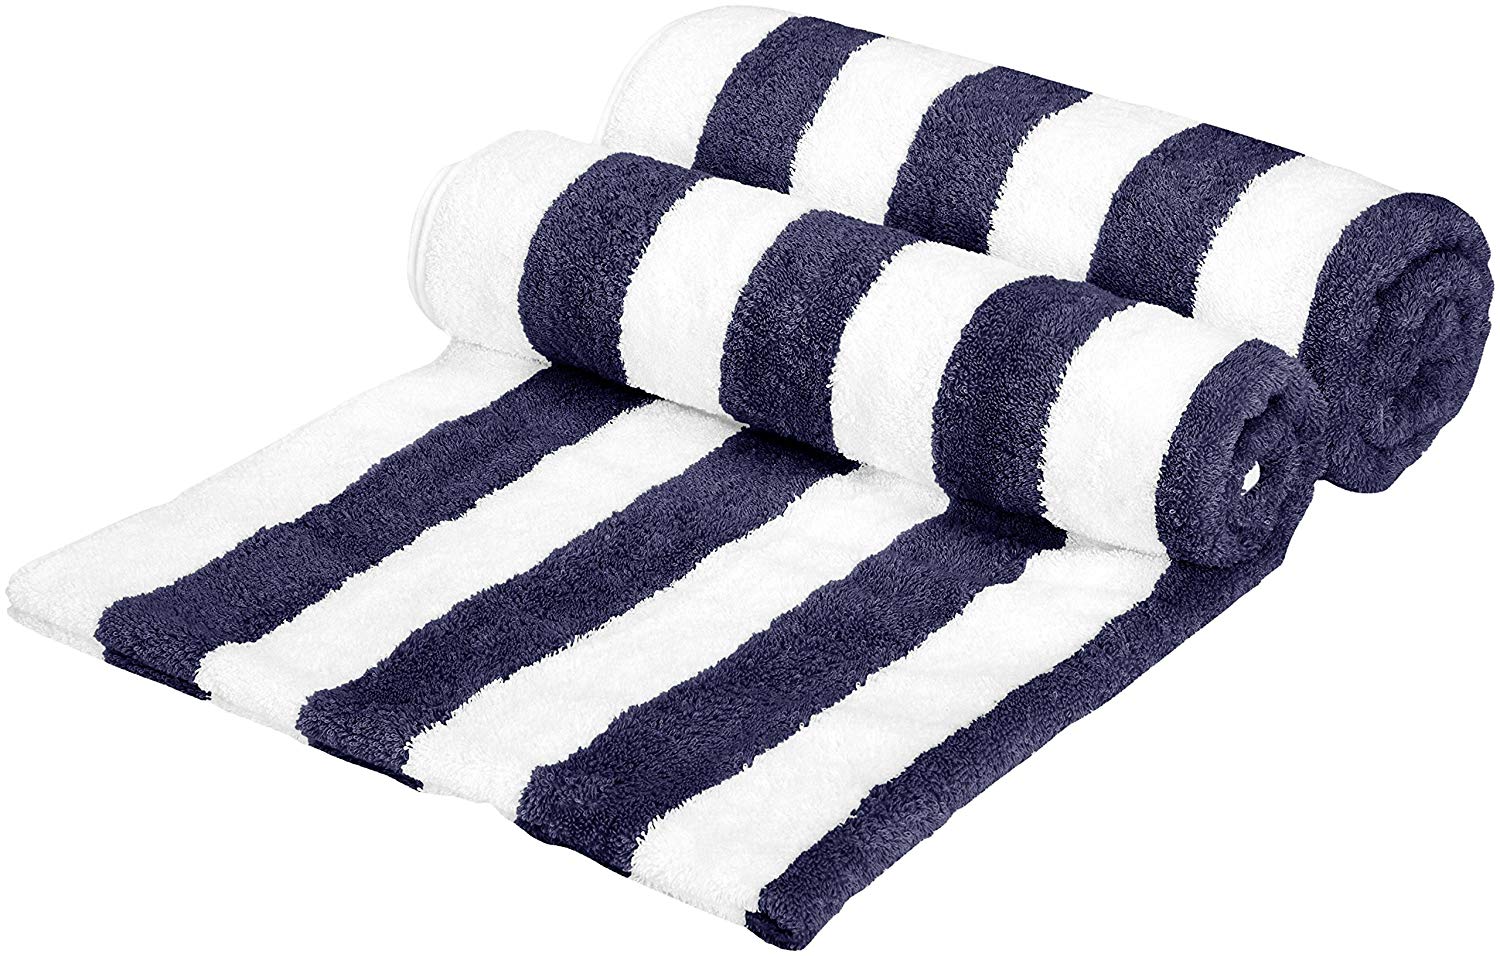
Let’s talk beach towels for just a sec.
Looking through Amazon, I found the ones that will look so nice hanging from this new farmhouse rack that I just created. I love navy blue and white stripes so much. These just spoke to me and said. “Yes, please hang me on your new farmhouse rack.”
I linked them here if you love them too!
For some more inspo.
Your possibilities are now endless! Happy creating!