Beach Rock Painting
The ocean is calling and the beach rocks are plentiful. Some beaches do not allow you to take a few rocks off of the beach, but if it is allowed on your favorite beach, then grab a few of those smooth stones for a relaxing activity. Beach rock painting can be so relaxing and fun. I remember when I was in my mid-twenties, a friend and I painted beach rocks and didn’t relaize we had been sitting, chatting , and painting for about 3 hours!
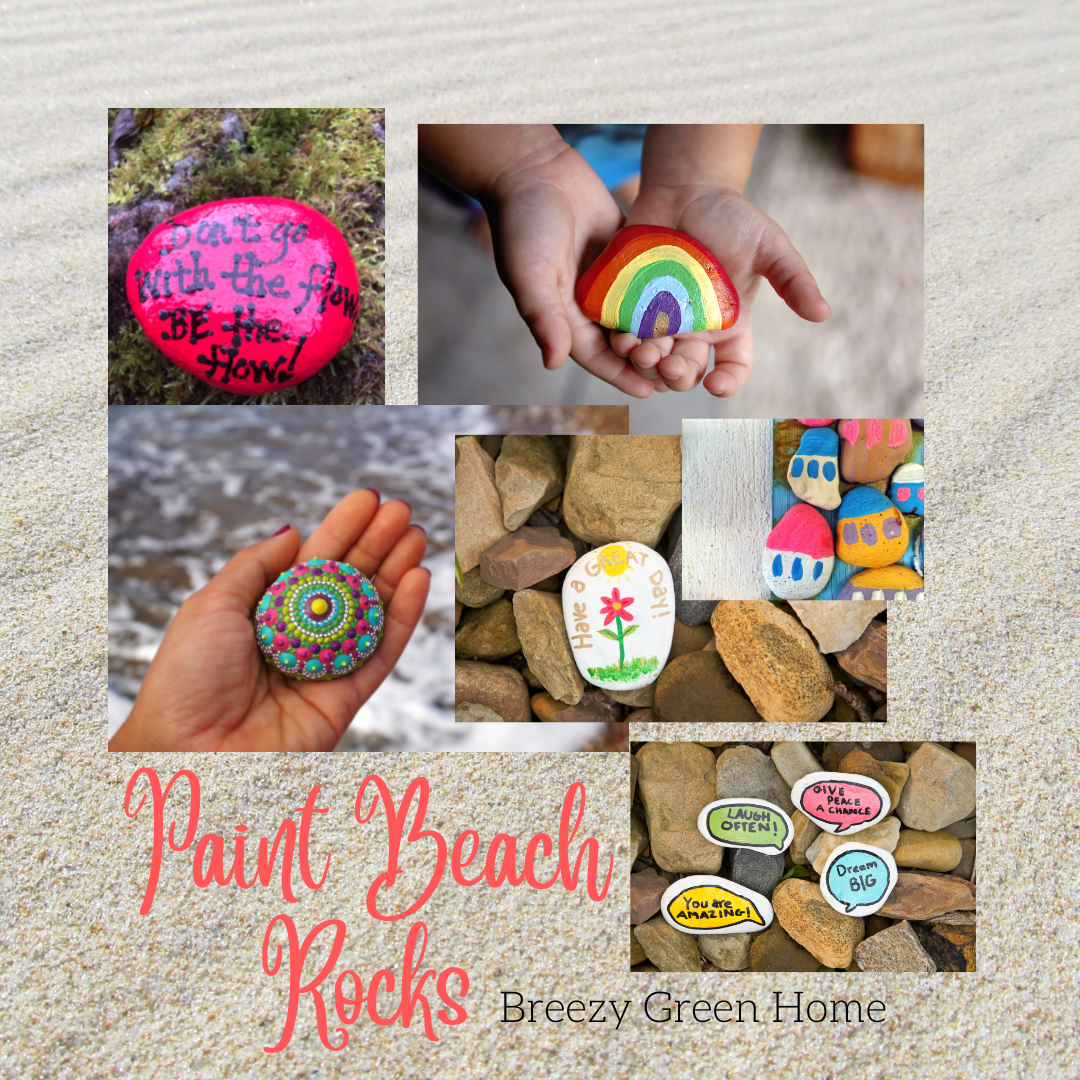
Gather Inspiration
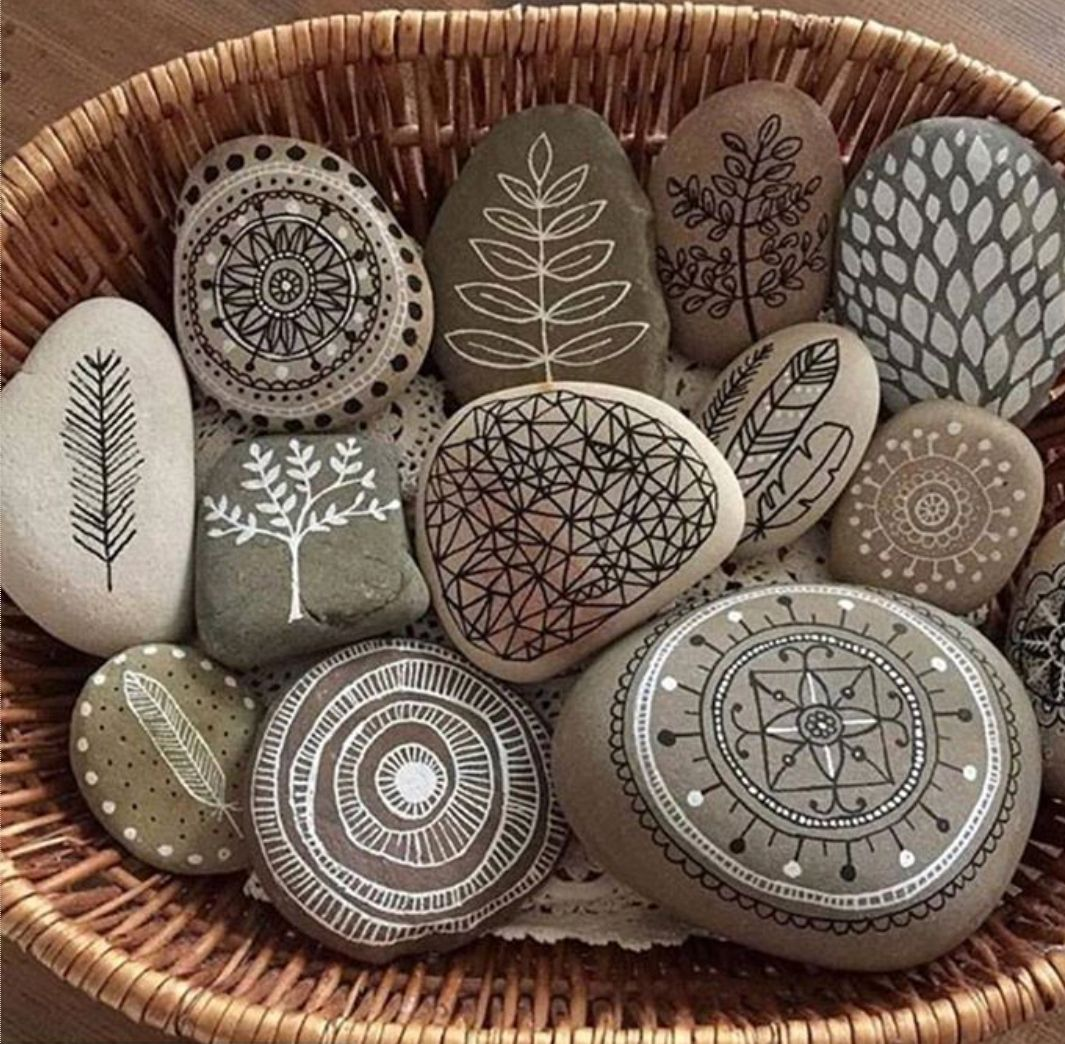
Beach rocks and regular rocks found in your yard, or at your local home and garden shop, work! Don’t overlook these treasuers. I’ve gathered some inspiration photos for you to get those creative juices flowing.

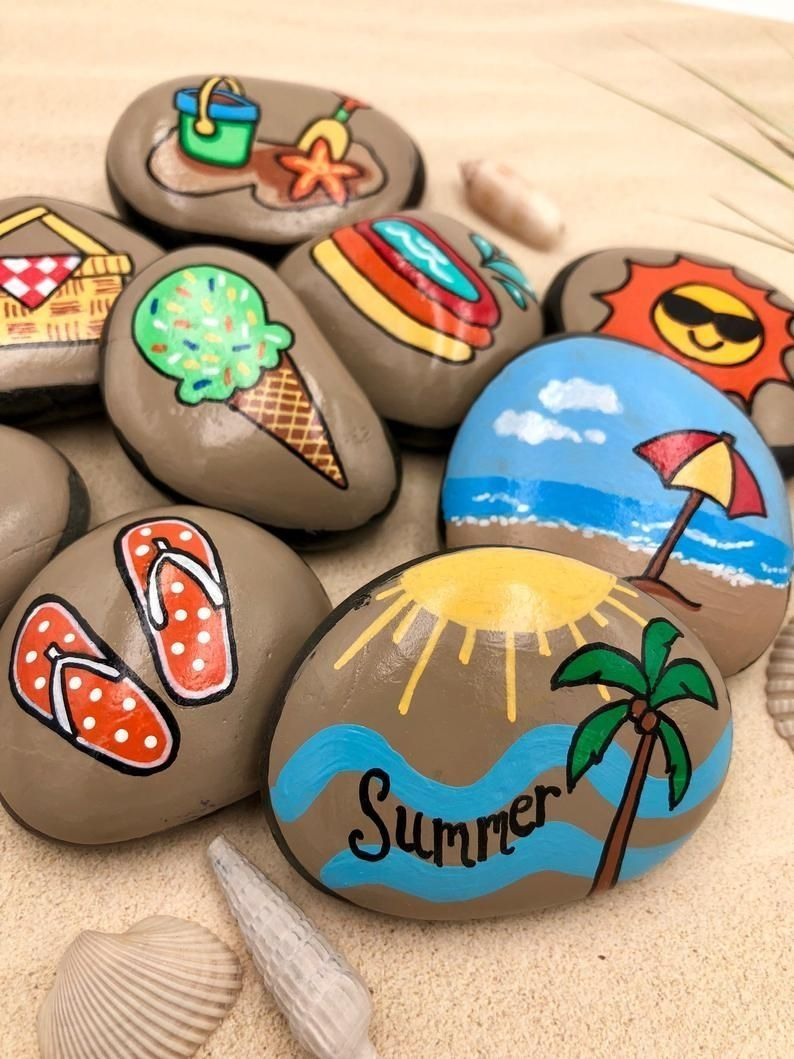
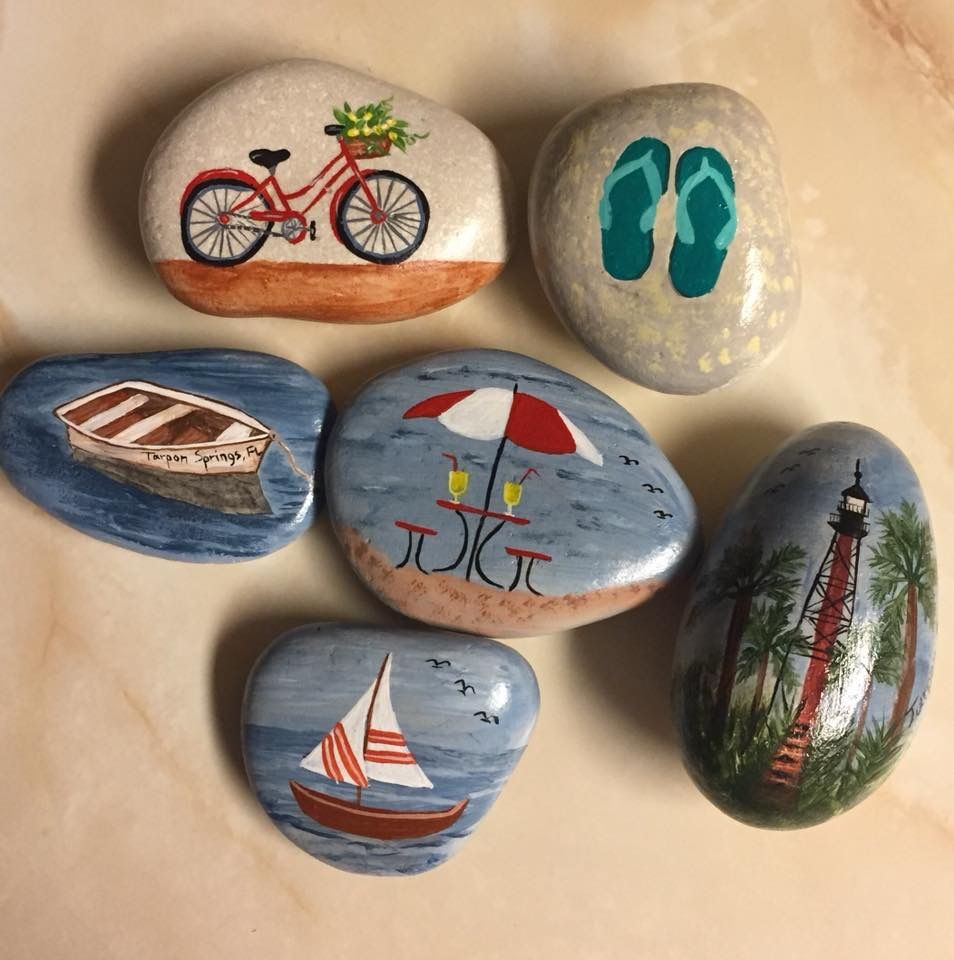
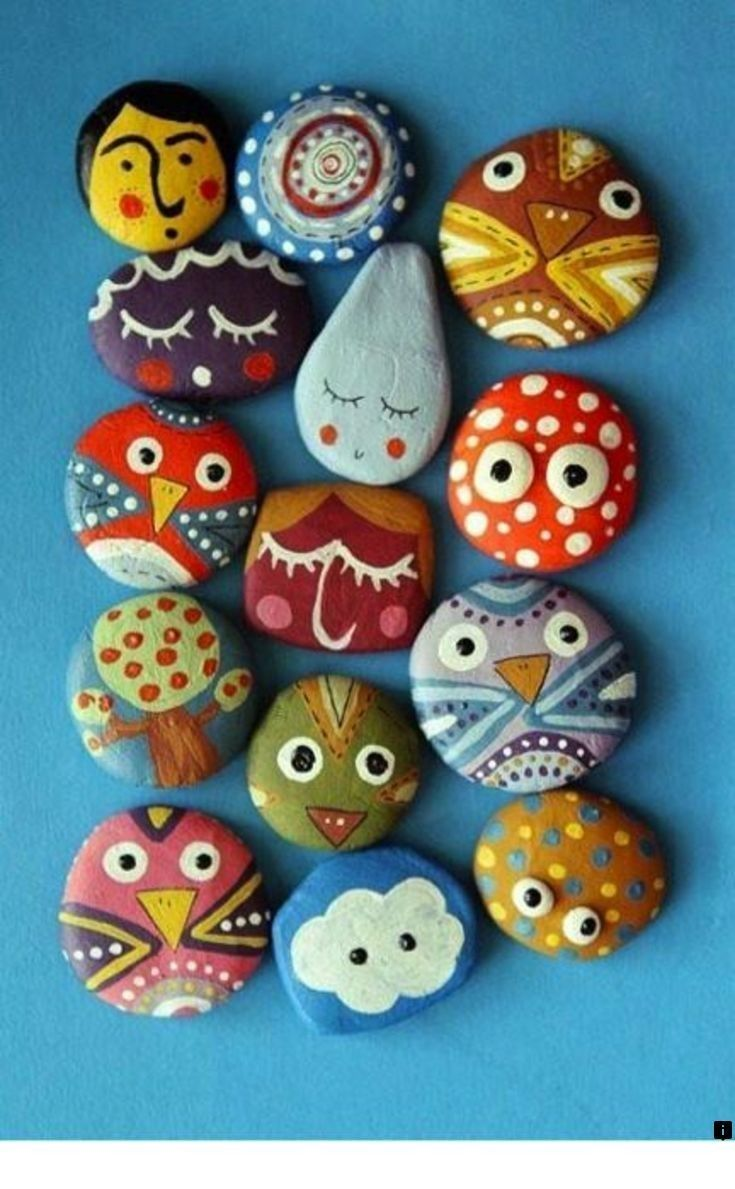
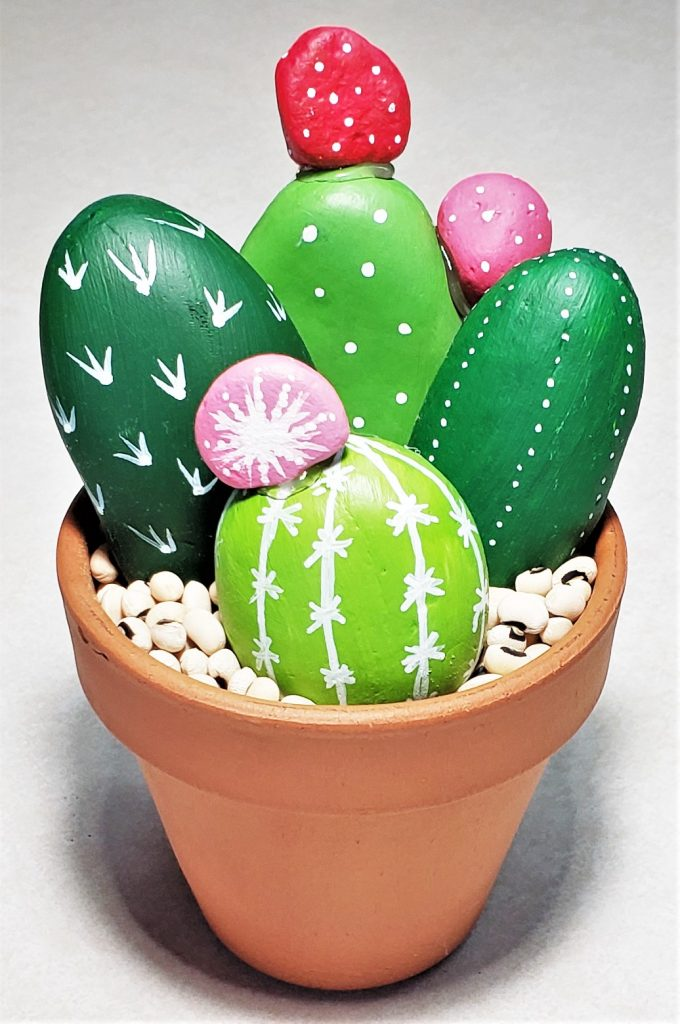
This is just a small sample of the potential! Let your mind wander. The most important thing to remmebr that this is your creation. Just writing a simple quote on a rock is art. Have fun with it!
Gather Supplies
Havign the right supplies is essential to painting rocks so that your designs are vibrant, even if you are using white. You want it to show because rocks are absorbant and can smudge. Follow this simple checklist and you’ll be all set when painting.
- Paint- Craft acrylic paint. I use DecorArt brand or Apple Barrel brand (available at Walmart or Amazon). Paint pens-Artistro brand works really well! For small details use Micron PN pens. Sharpie markers will smudge at the gloss stage! I advise you not to use these.
- Paint brushes- I buy the variety packs and tend to use the tiniest and next size up for rock painting.
- Gloss Coat- Have you ever wondered how to get the glossy look on rocks.?Use either a brush on gloss coat or a spray one gloss coat. Krylon has many varieties. It all depends on the look you want. Either way, I like to add some shine to the rock and protect it for when I leave it outdoors. The Kylon brand is non-yellowing and will protect the paint from weathering.
How to Prep and Paint
I like to make sure my rocks are clean. There is nothing worse than working on a cool design and then hitting a grain of sand. The sand can get caught in the brush, or on the pen tip. It’s the worst, especially when you’re painting a detailed design. I just run my rocks under water and let dry completeyly brfore beginning.
Depending on your design, you can decide if you’d like a base coat. Sometimes I’ll cover the rock surface with white, let dry, and then paint on top of the white. You can choose your color for your base coat. Applying a base coat, will prevent you from having to add more layers.
You might have to go back several times and add more coats. It’s just the way it is when painting rocks.
The Last Step
The last step is to allow enough dry time between the painting and the gloss. I can’t tell you how many times my impatient self sprayed and lost the art, or smudged the writing on my rocks. Remember to use the gloss in a well ventilated area. If you are stuck inside, use the brush on, no fumes gloss.
Enjoy your creations! They make a fun addition to gifts, for your gardens, work spaces, shelves, and even in potted plants! I keep one in my car that says, “hope” and one in my plant. I hope you enjoy this fun, relaxing activity. Get creative! It’s so good for the soul.